How to Check if Your 4WD Is Working: Quick Checks Guide
Check 4WD by engaging it on a loose surface and confirming two things: the front driveshaft turns and the front wheels pull, or the vehicle binds in tight circles. If only the dash light changes, the system may not be engaging. A false-positive 4WD can leave you stuck and can hide faults in hubs, actuators, vacuum lines, or the transfer case. This guide gives a pass/fail checklist for part-time, full-time, and electronic 4WD systems, plus the easiest vehicle-specific checks.
What you’ll need
- Owner’s manual for the exact shift procedure and speed limits
- Loose traction surface: gravel, dirt, wet grass, snow, or other loose ground
- Safe, open area with room for slow circles and straight-line driving
- Helper to watch the dash light and note timing, if available
- Pen and note sheet, or a phone notes app
- Scan tool that can read transfer case, hub, and actuator fault codes, if the vehicle has electronic shift control
How do you tell if 4WD is actually engaging?
Actual engagement means torque reaches the front axle, not only the dash cluster. On a part-time 4WD system, the transfer case couples front and rear output together in 4H or 4L, and many vehicles also use a front axle actuator or hub actuator to connect the front wheels. The light alone cannot prove that connection.
Transfer case, axle actuator, and indicator light
The transfer case is the center of the system. It splits power front to rear through mechanical engagement or electronic control, so the vehicle may feel different at low speed when it is working. A front axle actuator, hub actuator, vacuum solenoid, fuse, or wiring fault can still stop the front wheels from pulling even when the light changes.
| What changes | What it can prove | What it cannot prove |
|---|---|---|
| Solid 4WD indicator light | The control system likely received the command | Front axle engagement or hub lock |
| Flashing indicator light | Shift request is in progress on many vehicles | Completed engagement, because patterns vary by make |
| Low-speed bind on loose ground | Power is reaching the front axle in a part-time system | AWD-style operation or correct use on dry pavement |
Step 1: Check the dash light and shift procedure
Use the owner’s manual shift method first. Many trucks and SUVs need a set speed, a specific transmission position, or a button hold before 4H or 4L completes. Record whether the light becomes solid, keeps flashing, or adds another warning lamp before you move the vehicle.
- Set the transmission and vehicle speed exactly as the manual lists.
- Select 2H, 4H, or 4L using the listed switch, lever, or dial sequence.
- Wait for the light pattern to finish changing, then note any warning lamps.
Step 2: Run the loose-surface pull test
Use gravel, dirt, wet grass, snow, or another low-traction surface. Dry pavement is usually not the best test surface, because a part-time 4WD system may bind there rather than clearly showing engagement. In 4H, drive slowly and watch for a clear change in traction at the front axle.
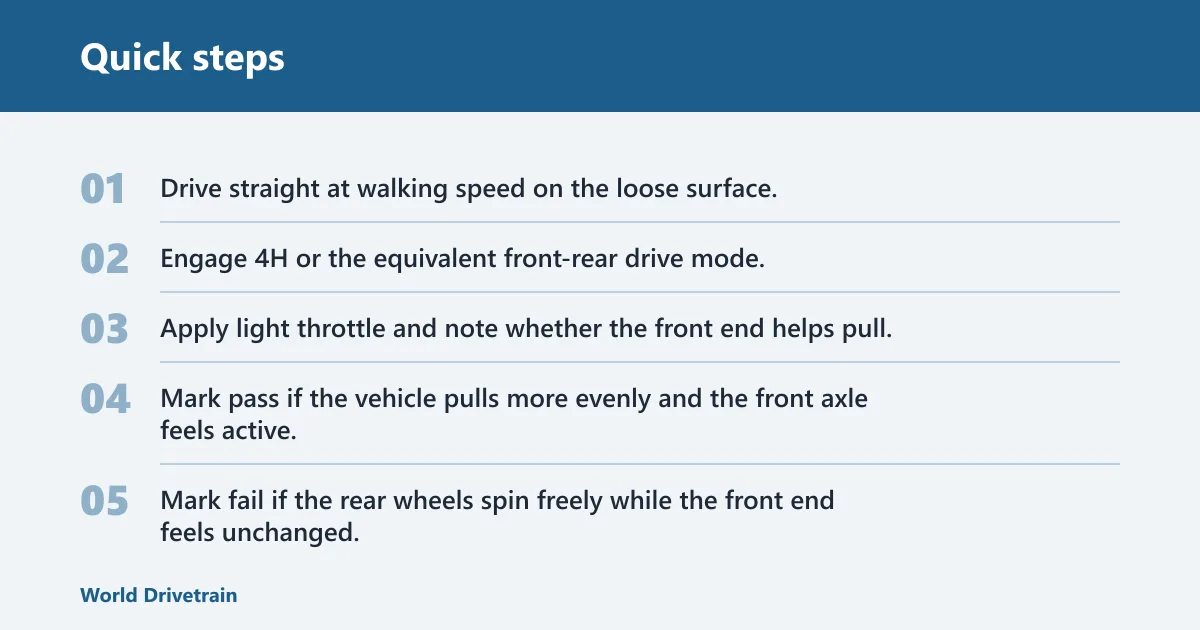
- Drive straight at walking speed on the loose surface.
- Engage 4H or the equivalent front-rear drive mode.
- Apply light throttle and note whether the front end helps pull.
- Mark pass if the vehicle pulls more evenly and the front axle feels active.
- Mark fail if the rear wheels spin freely while the front end feels unchanged.
Say your pickup shifts to 4H and the lamp goes solid, but on wet grass the rear tires spin while the front end stays light and unchanged. That points to a system that is commanding 4WD without delivering torque to the front axle.
Step 3: Check for steering bind or driveline wind-up
On the same loose surface, turn tightly at low speed. A working part-time 4WD system can feel tight in a sharp turn because the front and rear driveline speeds are tied together. That bind should appear on loose ground, not as a normal effect on dry pavement.
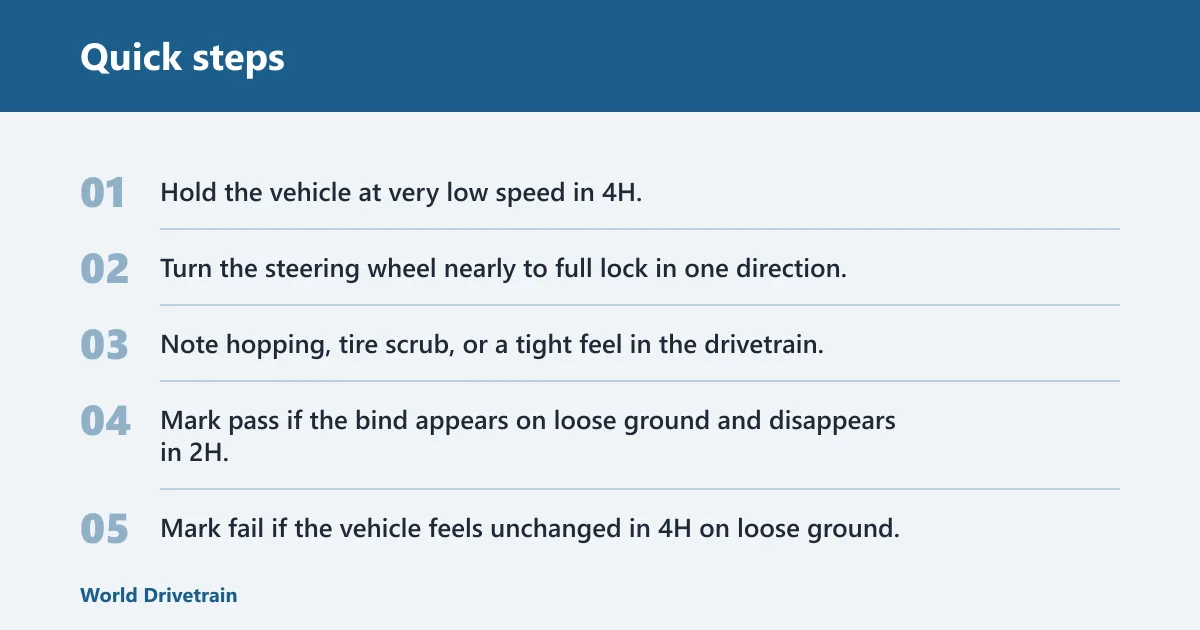
- Hold the vehicle at very low speed in 4H.
- Turn the steering wheel nearly to full lock in one direction.
- Note hopping, tire scrub, or a tight feel in the drivetrain.
- Mark pass if the bind appears on loose ground and disappears in 2H.
- Mark fail if the vehicle feels unchanged in 4H on loose ground.
Suppose a 4×4 SUV makes tight hopping circles on gravel in 4H, but turns normally in 2H. That is the expected kind of steering bind for a part-time system. If the same hop appears on dry pavement, stop the test and return to 2H.
How do i know my 4wd is working
You know it is working when the shift request, traction behavior, and turning behavior all agree. For a part-time system, that usually means a completed dash indication, front-axle pull on a loose surface, and some driveline bind in tight turns. One signal by itself is not enough.
What the light can and cannot prove
A solid light often confirms that the transfer case received the command. A flashing light often means the shift is still moving or waiting on conditions, but the pattern is vehicle-specific. Neither state proves that the front hubs, axle actuator, or vacuum control actually locked the front wheels.
What if the light says 4WD is on but the front wheels do not pull?
Start with the front axle actuator, hub actuator, vacuum lines, fuses, and wiring. Those are common failure points when the dash changes but the front wheels stay free. If the vehicle has electronic shift control, scan transfer case and hub-related codes before replacing parts. ABS or traction control warnings may point to a separate fault that changes how the system behaves.
If that didn’t work, try this next
- Inspect the fuse panel for transfer case, axle actuator, and 4WD control fuses.
- Check vacuum lines and electrical connectors at the front axle or hubs.
- Use a scan tool to read transfer case, hub, and actuator fault codes.
- Follow the diagnostic chart in the owner’s manual for the exact code set.
- Stop at professional diagnosis if codes return or if the actuator never responds.
How to tell if your 4×4 is working
Use a loose-surface pull test, then a tight-circle bind test, then the indicator light as supporting evidence. For part-time 4×4, the front axle should help pull on gravel, dirt, wet grass, or snow. If the vehicle has shift-on-the-fly controls, the test still needs low traction so you can separate real engagement from light behavior.
What to do if you have no safe loose surface nearby
If there is no gravel lot, dirt shoulder, or snow-covered area, do not force the test on dry pavement. Use the owner’s manual to confirm whether the vehicle has a front axle disconnect, vacuum hubs, or an electronic actuator, then inspect those parts or read codes first. A parking lot does not replace a traction test.
Common mistakes
- Trusting the dash light alone. The light can change before the front axle actually locks.
- Testing on dry pavement first. That can create driveline wind-up instead of a valid result.
- Skipping the manual. Shift speed limits and button timing vary widely by vehicle.
- Ignoring hubs and actuators. A transfer case can work while the front wheels stay disconnected.
- Missing ABS or traction control warnings. Those systems can mask or imitate 4WD symptoms.
How to check if your 4WD is working
Use a loose surface, confirm the dash light, and verify front-axle pull with a slow straight-line test. Then make a tight turn to look for normal part-time 4WD bind. If the light and drivetrain behavior disagree, inspect the actuator, hubs, vacuum lines, fuses, and fault codes.
One-page 4WD engagement checklist
| Test scenario | How to run it | Pass/fail | Notes on symptoms |
|---|---|---|---|
| Indicator-light verification | Command 4H or 4L per the manual and watch for the expected light pattern | Pass if the pattern matches the manual | Flashing, solid, or added warning lamps |
| Loose-surface pull test | Drive slowly on gravel, dirt, wet grass, snow, or loose dirt | Pass if the front end helps pull | Rear spin, no change, or delayed engagement |
| Turning-bind test | Turn tightly at low speed on the same loose surface | Pass if part-time bind appears in 4H and disappears in 2H | Hop, scrub, tight steering, or no bind |
Record the mode, speed, surface, light behavior, and what the vehicle did. That note sheet matters when the lamp works but the front axle does not.
Frequently asked questions
how to test if your 4wd is working
Follow the owner’s manual to select 4H, then do a slow straight-line pull test on a loose surface and a tight-circle test in the same area. Pass means the front axle assists and the vehicle binds as expected for a part-time system.
can i test 4wd safely on pavement or do i need loose ground
Use loose ground for the main test. Dry pavement can make a part-time system bind, hop, or scrub tires without proving engagement. If pavement is the only option, limit it to the light check and stop there until a proper low-traction area is available.
what are the signs my 4wd is actually engaging
On a part-time system, the signs are a completed shift indication, stronger straight-line pull from the front axle, and a tight steering feel in sharp turns on loose ground. A flashing lamp alone, or a lamp with no driveline change, is not enough.