Why Is My Axle Seal Leaking After Replacement?
If a new axle seal leaks, the usual causes are shaft wear, a blocked vent, a damaged bearing, or a bad install. Do not replace the seal again until you inspect the shaft surface, bearing play, and vent flow. If you miss the fault, the new seal can fail, brake parts can get contaminated, and oil loss can continue. This article shows the check order that separates seal failure from shaft, bearing, vent, and installation problems.
Why a new axle seal still leaks
A repeat leak usually means the seal is sealing a damaged surface or working under bad conditions. The seal is only one part of the system. If the axle shaft is grooved, the bearing lets the shaft wobble, the vent is blocked, or the seal sits at the wrong depth, the leak can return right away.
What the seal is supposed to do
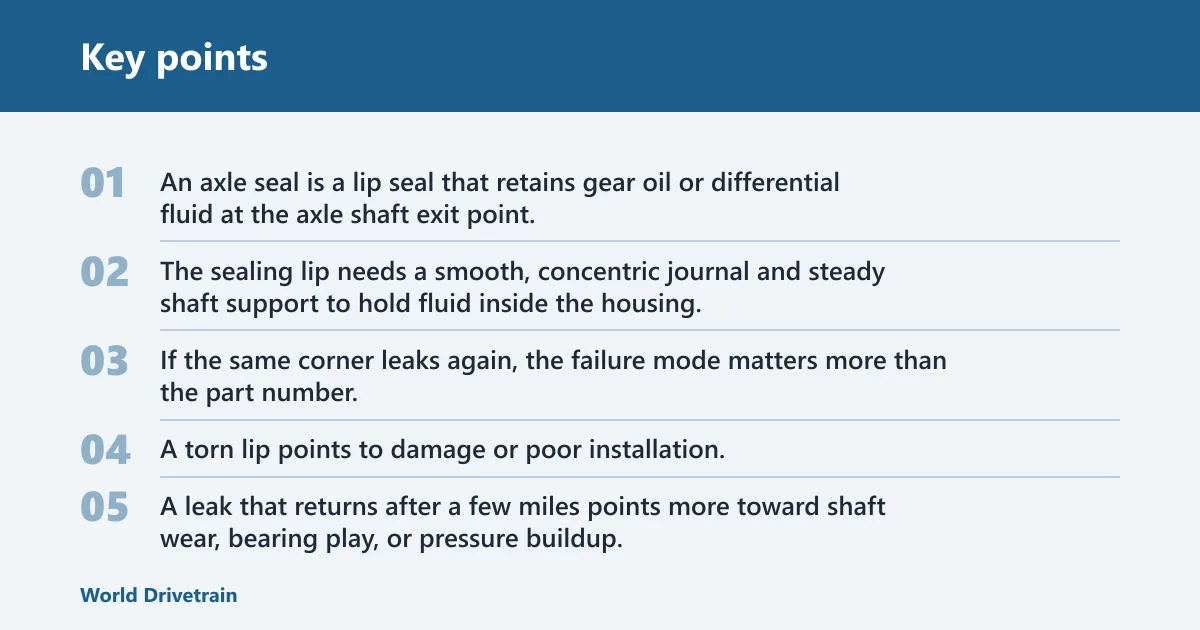
An axle seal is a lip seal that retains gear oil or differential fluid at the axle shaft exit point. It is used at the shaft opening on rear axles, front axles, and independent suspension layouts. The sealing lip needs a smooth, concentric journal and steady shaft support to hold fluid inside the housing.
Why repeat leaks point to a deeper fault
If the same corner leaks again, the failure mode matters more than the part number. A torn lip points to damage or poor installation. A leak that returns after a few miles points more toward shaft wear, bearing play, or pressure buildup. A leak that appears only at highway speed often points to a blocked vent, fluid overfill, or movement under load.
Axle seal leak timing clues
Timing is one of the fastest ways to narrow the cause. A leak that shows up immediately after start-up or during the first drive usually suggests a damaged seal lip, incorrect installation depth, or a grooved sealing surface. A leak that waits until the axle warms up can point to pressure rise, fluid level issues, or a housing vent problem.
Say your rear axle stays dry in the driveway, then leaves a wet ring on the backing plate after 10 miles at 60 mph. That pattern fits a pressure or movement problem better than a torn seal. The vent, bearing preload, and shaft condition deserve a full check before another seal goes in.
Repeat axle seal leak decision chart
| Leak timing | Visible evidence | Likely cause | Inspection test | Corrective action |
|---|---|---|---|---|
| Immediate leak after install | Oil wetness at the lip, seal cocked in the bore, fresh damage on the seal edge | Torn lip, wrong installation depth, distorted seal, debris in the bore | Remove the seal and inspect the bore, lip, and shaft contact line; check depth against service spec | Replace the seal, clean the bore, use a correct seal driver, set the specified depth |
| Leak after a few miles | Dry at first, then oil on the backing plate, wheel, or inside tire area | Grooved shaft, bearing play, slight runout, rising housing pressure | Check axle shaft surface, measure bearing play, confirm vent flow, verify fluid level | Repair or sleeve the journal, replace the bearing if loose, clear the vent, correct the fluid level |
| Leak only at highway speed or under load | Leak appears after extended driving, towing, or hard cornering | Blocked vent, overfill, bearing movement under load, seal lip unloaded by shaft wobble | Inspect vent passage, confirm fill level, check axle end play and hub torque | Restore vent flow, set fluid to spec, correct torque, repair bearing support if needed |
Could the axle shaft or bearing be the cause?
Yes. A worn sealing surface or a loose bearing can make a brand-new seal leak again. The seal lip rides on the axle shaft’s machined sealing surface. If that surface has grooves, rust, pitting, or runout, the lip cannot hold a steady film. If the bearing has play, the shaft moves off-center and unloads the lip.
Sealing surface wear, rust, and runout
Look for a polished wear track, deep groove, orange rust, burrs, or nicks where the lip rides. Even a small groove can create a leak path. Runout matters too, because a shaft that does not spin true can make the lip pump fluid instead of sealing it.
Wheel bearing play and axle movement
Excess end play or wobble is a common repeat-leak cause. The bearing supports the shaft, so wear in the bearing lets the shaft move side to side or tilt in the bore. That motion can open the seal lip under driving load, then leave a wet trail after the vehicle sits.
When a sleeve or shaft replacement makes sense
If the sealing journal is worn but the shaft is otherwise serviceable, a repair sleeve may restore a smooth contact surface. If the shaft is deeply grooved, bent, or badly pitted, replacement is the better fix. The goal is a smooth, concentric sealing path, not just a fresh seal on a damaged track.
-
Check the shaft journal.
Remove the shaft far enough to inspect the exact seal track. Look for grooves, pitting, rust, and any sharp edge that could cut the lip. -
Measure bearing play.
Check for end play and wobble at the hub or axle end. Any movement that shifts the shaft off-center can unload the seal lip and shorten seal life. -
Decide on repair method.
Use a sleeve if the journal is lightly worn and the shaft is straight. Replace the shaft if wear, pitting, or runout is too severe for a durable repair.
Could vent pressure be pushing fluid past the seal?
A blocked breather or vent can raise housing pressure and push fluid past a good seal. This is common on rear axles and on vehicles used off-road, where mud, rust, or water intrusion can clog the vent. Pressure problems often show up after driving, not while the vehicle is parked.
Blocked breather and vent symptoms
Look for fluid pushed out around the seal, a wet housing after a highway run, or oil that seems to come back even when the seal and shaft look acceptable. A restricted vent may also leave the differential housing pressurized when the fill plug is removed carefully after a drive.
Overfill and fluid type checks
Overfill can let rotating parts whip fluid toward the seal and push oil past the lip. Wrong fluid type can also matter if the seal material is not compatible with the lubricant package. Confirm the fill level with the vehicle’s service procedure and use the specified fluid type for that axle.
Picture a rear axle that was filled above spec after service. The seal may look fine, but at 70 mph the fluid foams and pushes hard against the lip. The fix is not another seal alone. The level, vent, and fill procedure all need to be corrected.
Seal installation checks that matter
Bad installation can cause a repeat leak, but it should be treated as one branch of the diagnosis, not the whole answer. A seal that is cocked, driven too deep, or driven too shallow may ride on the wrong part of the shaft or distort the lip. That can create an immediate leak or a leak that starts after a short drive.
Installation depth and square seating
Seal installation depth must match the vehicle’s service specification. Too shallow can leave the lip on a rougher part of the shaft. Too deep can place the lip outside the intended wear track or into a housing feature that changes the seal angle. The seal should sit square in the bore with even depth all around.
Seal driver fit and lip protection
A seal driver or installation tool should match the seal diameter so the seal is pressed evenly into place. The tool helps prevent cocking, distortion, and direct damage to the sealing lip. If the driver contacts the lip or the seal goes in unevenly, a new leak may appear within miles.
Torque specs that affect bearing preload
Improper axle nut or hub torque can change bearing preload. Over-torque or under-torque may create bearing movement, which then changes shaft position at the seal. Always follow the manufacturer’s torque specification and recheck the related fasteners if the axle design calls for a staged torque process.
-
Verify seal depth.
Compare the installed depth with the service specification before reassembly. Use a depth gauge or the correct driver shoulder, because guessing can place the lip on the wrong section of the shaft. -
Use the right driver.
Press the seal in evenly with a driver sized to the seal diameter. Avoid hammering directly on the seal face, which can wrinkle the case or cut the lip. -
Set all torque values.
Tighten axle nuts, hub fasteners, and related hardware to the listed specification. Correct torque helps keep bearing preload stable and prevents shaft movement that can restart the leak.
What to inspect by axle layout
The inspection path changes with the axle layout. Rear axles often put the seal deep in the housing at the shaft end. Front axles can combine hub parts, bearings, and axle shafts in a tighter space. Independent suspension systems may use a different seal location and a shorter shaft path, so the same leak pattern can have a different cause.
Rear axle setups
On rear axles, check the vent first if the leak returns soon after replacement. Then inspect the shaft journal, bearing support, and backing plate area for oil spread. Rear axles commonly show fluid on the brake backing plate or inside the wheel area when the seal fails or the housing is pressurized.
Front axle setups
Front axles often need closer attention to hub torque, bearing condition, and the relationship between the axle shaft and hub assembly. If the shaft is worn where the seal rides, a new seal may not last. If the hub or bearing stack is loose, the shaft can shift enough to unload the lip.
Independent suspension setups
Independent suspension layouts can place the seal at a transaxle, intermediate shaft, or differential side. That makes depth, concentricity, and shaft support even more important. Follow the exact service layout for that vehicle, since the seal may be affected by nearby support bearings, CV joints, or housing alignment.
How do I fix an axle seal leak?
Fix the cause, not just the wet seal. Start with the shaft surface, bearing play, vent flow, fluid level, and installation depth. If the journal is damaged, repair or replace it. If the bearing is loose, replace it. If the vent is blocked, clear it before installing another seal.
-
Inspect the leak path.
Clean the area and trace where the fluid starts. Oil on the brake, wheel, or backing plate tells you the seal area is involved, but the true cause may still be shaft wear or pressure. -
Check support parts.
Measure bearing play, confirm axle end play where applicable, and verify hub torque. A loose support can make even a new seal fail again. -
Correct the sealing surface.
Polish minor roughness, remove burrs, or install a repair sleeve if the journal is only lightly worn. Replace the shaft if the surface cannot hold a clean contact band. -
Restore fluid and venting.
Set the fluid to the proper level, confirm the correct fluid type, and clear the breather or vent. Then install the seal at the specified depth with the correct driver.
How serious is a leaking axle seal?
A leaking axle seal is serious enough to fix promptly because it can lower fluid level and damage the differential if ignored. It can also contaminate brake parts, saturate the backing plate, and reduce bearing life. A small leak today can become a driveline repair later if fluid loss continues.
Do not assume a light seep is harmless. If the differential runs low, gear oil film strength drops and internal wear rises. That is why a leak that returns after repair deserves a full diagnosis, not another seal alone.
Frequently asked questions
Why is my axle seal leaking after replacement?
A replacement seal that leaks again usually points to shaft wear, bearing play, blocked venting, wrong installation depth, or fluid overfill. The seal may be new, but it still depends on a smooth shaft, steady support, and normal housing pressure to hold fluid inside.
Did the mechanic install the axle seal wrong?
Bad installation can cause a repeat leak, especially if the seal was driven crooked, set at the wrong depth, or damaged during installation. But a repeat leak is not proof of a bad install. Shaft wear, bearing play, and vent pressure can produce the same result.
Can a bad bearing cause an axle seal to leak again?
Yes. A loose or worn bearing can move the axle off-center and unload the seal lip. That motion can create a leak even when the seal itself is new. If a seal fails again, bearing inspection should be part of the diagnosis.
Do I need a new axle seal or a new axle shaft?
If the shaft journal has only light wear, a repair sleeve may be enough. If the journal is deeply grooved, pitted, bent, or rusty enough to cut the lip, a new shaft is usually the better repair. A new seal cannot overcome a damaged sealing surface.