How to Bleed a Clutch Pedal: Fault Checks and Steps
To bleed a clutch pedal, start only if the reservoir is full, the pedal feels spongy, and you have no external leak. If the pedal sinks or will not hold pressure, suspect the master or slave cylinder instead. Skipping that check can waste fluid, trap air, and leave you with the same soft pedal after the job. This guide shows how to confirm the fault, choose the right bleeding method, and spot cylinder failure before you keep bleeding.
What a clutch bleed fixes
A hydraulic clutch uses a master cylinder, a slave cylinder, and fluid to transmit pedal force. Air in that circuit compresses, so the pedal can feel soft, change position, or respond late. Bleeding removes air from the hydraulic clutch system, but it will not cure a leaking seal, a cracked hose, or a worn cylinder.
When bleeding is the right first step, the pedal usually feels spongy and the reservoir level is stable. When the pedal sinks, fails to return, or drops while held down, the fault often points to a master or slave cylinder that will not hold pressure.
What you’ll need
- Correct hydraulic clutch fluid that matches the vehicle specification; many systems call for DOT 3, SAE J1703, or FMVSS 116.
- Transparent bleed tube about 2 ft, or 600 mm, long and about 5 mm in diameter.
- Catch bottle or jar with enough clean fluid to keep the tube end submerged.
- Spanner for the bleed nipple.
- Helper, one-man kit with a non-return valve, or a pressure bleeder.
- Clean rag and gloves for spills.
- Vehicle handbook for bleed sequence and any model-specific free-play adjustment.
Should you adjust free play first?
Yes, on some vehicles. Some front-wheel-drive cars require clutch free play adjustment before bleeding, and the handbook should be checked before you open the system. Wrong free play can mimic a bad bleed because the pedal may feel odd even when the air is gone.
Picture a front-wheel-drive car with a high biting point and almost no free movement at the top of the pedal. If the handbook calls for adjustment first, bleeding before that step can make diagnosis harder, because the pedal feel may still be wrong after the air is removed.
Check the handbook first
- Open the vehicle handbook and find the clutch adjustment and bleed procedure.
- Set the pedal free play to the listed spec before bleeding if the handbook requires it.
- Recheck pedal travel after the adjustment, then continue only if the pedal still feels soft.
How to bleed a hydraulic clutch
Bleeding works best when you start with a full reservoir, a sound hose, and a clean bleed path. Open the nipple only about three-quarters of a turn, keep the reservoir topped up, and close the nipple while the pedal is held down. If bubbles are still present after six pedal strokes, top up the reservoir before continuing. (Howacarworks)
Check the reservoir and inspect for leaks
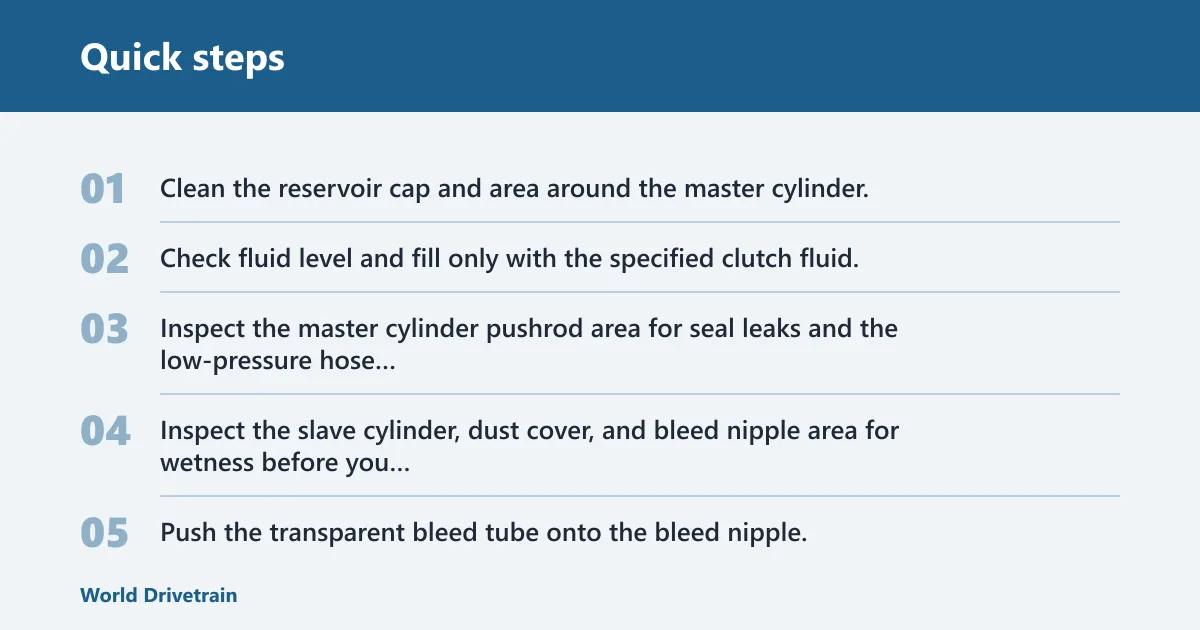
- Clean the reservoir cap and area around the master cylinder.
- Check fluid level and fill only with the specified clutch fluid.
- Inspect the master cylinder pushrod area for seal leaks and the low-pressure hose between master cylinder and reservoir for cracks or loose fittings.
- Inspect the slave cylinder, dust cover, and bleed nipple area for wetness before you bleed.
Fit the bleed tube and submerge the end
- Push the transparent bleed tube onto the bleed nipple.
- Place the other end in clean fluid inside the catch bottle.
- Keep the tube end submerged so air cannot be drawn back into the line.
Pump, hold, open, and close the nipple
- Depress the clutch pedal several times, then hold it fully down.
- Unscrew the bleed nipple about three-quarters of a turn.
- Let fluid and air pass through the tube.
- Close the nipple while the pedal is still held down.
- Release the pedal only after the nipple is closed.
- Repeat until the fluid runs clear and no bubbles appear in the tube.
Top up and repeat
- Check the reservoir after every few strokes.
- If bubbles are still present after six pedal strokes, top up the reservoir before continuing.
- Add fluid in measured amounts, about 50 ml at a time, then recheck the level.
- Do not let the reservoir uncover the feed port.
Test pedal feel and recheck for leaks
- Press the pedal several times and hold it down.
- Confirm that the pedal returns consistently and no longer feels springy or inconsistent.
- Inspect the master cylinder, slave cylinder, and hose joints again for seepage.
How to tell if the slave cylinder is the problem
The slave cylinder location matters because side-mounted and concentric layouts fail in different places. A side-mounted slave usually has a visible bleed nipple and dust cover. A concentric slave sits inside the bellhousing, so leaks may show up as fluid loss, slipping, or air that keeps returning after bleeding.
Suppose the pedal feels better after the first bleed, then goes soft again after a short drive and the bellhousing shows fluid traces. That pattern points away from simple trapped air and toward a slave cylinder seal fault that keeps admitting air or losing fluid.
Check the layout and seals
- Identify whether the vehicle has a side-mounted slave cylinder or a concentric unit.
- Inspect the dust cover for fluid and tears.
- Check the bleed nipple for looseness, corrosion, or damaged threads.
- On concentric systems, watch for recurring loss of pedal pressure after a correct bleed.
Bleed or replace decision table
| Symptom | Likely cause | Bleed likely to help | Next check |
|---|---|---|---|
| Spongy pedal | Air in the hydraulic clutch system | Yes, if fluid level is stable and there is no leak | Bleed again, then inspect master and slave seals |
| Pedal sinking | Internal leak in master or slave cylinder | Usually no | Check for seal bypass and fluid loss at the cylinder |
| Persistent bubbles | Air still entering through a fitting, hose, or nipple | Only if the entry point is fixed first | Inspect the bleed valve, hose, and reservoir feed |
| Low reservoir | External leak or repeated bleeding without top-up | Not until the loss is stopped | Trace the leak and refill with correct fluid |
| Repeated air at the bleed nipple | Air entering through nipple threads or a poor seal | Maybe, if the nipple is sealed better | Check nipple condition and close it while the pedal is held down |
Why is the pedal still spongy?
If the pedal still feels spongy after bleeding, the system should be bled again only after you confirm the bleed path is sealed and the fluid is correct. Ongoing softness can come from air entering through the nipple threads, a leak in the master cylinder, or a slave cylinder that is bypassing internally.
Check the master cylinder first
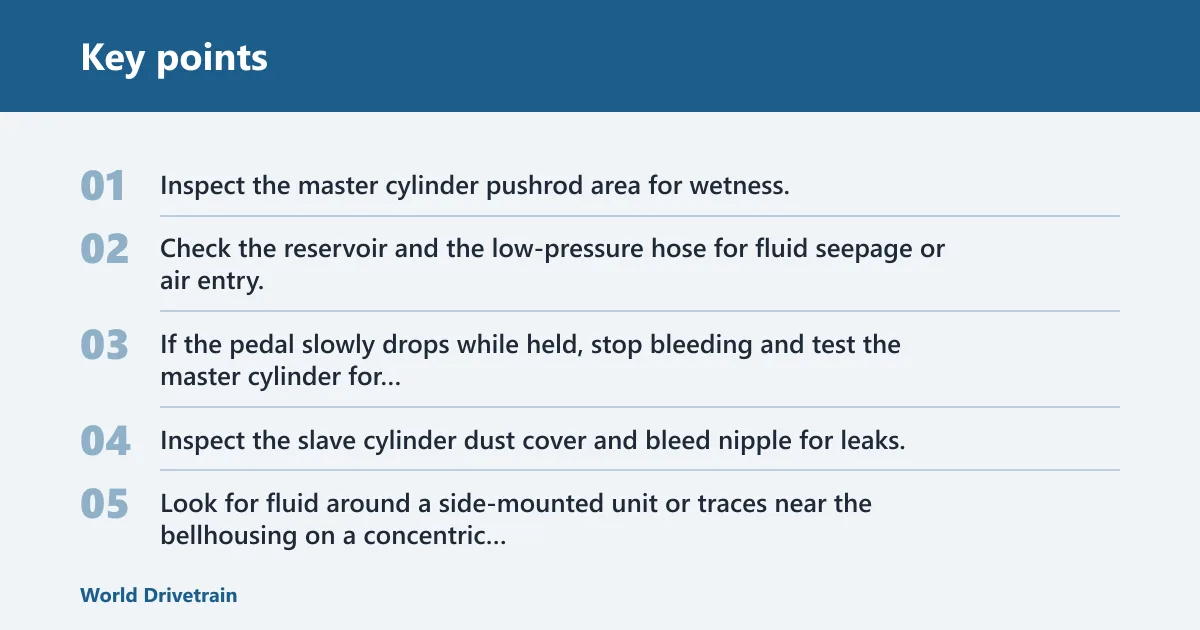
- Inspect the master cylinder pushrod area for wetness.
- Check the reservoir and the low-pressure hose for fluid seepage or air entry.
- If the pedal slowly drops while held, stop bleeding and test the master cylinder for internal bypass.
Check the slave cylinder next
- Inspect the slave cylinder dust cover and bleed nipple for leaks.
- Look for fluid around a side-mounted unit or traces near the bellhousing on a concentric system.
- If fluid loss continues, replace the faulty cylinder before another bleed.
Check fluid type and contamination
- Verify the fluid specification on the cap or handbook.
- Use fluid that meets SAE J1703, US FMVSS 116, or DOT 3 where specified.
- Do not mix mineral-based clutch fluid with glycol-based fluid.
- If the fluid is dark, cloudy, or contaminated, flush with the correct specification before bleeding again.
Common mistakes
Do not let the reservoir run low. That can pull fresh air into the system and undo the work you just did. Keep the level checked through the whole process.
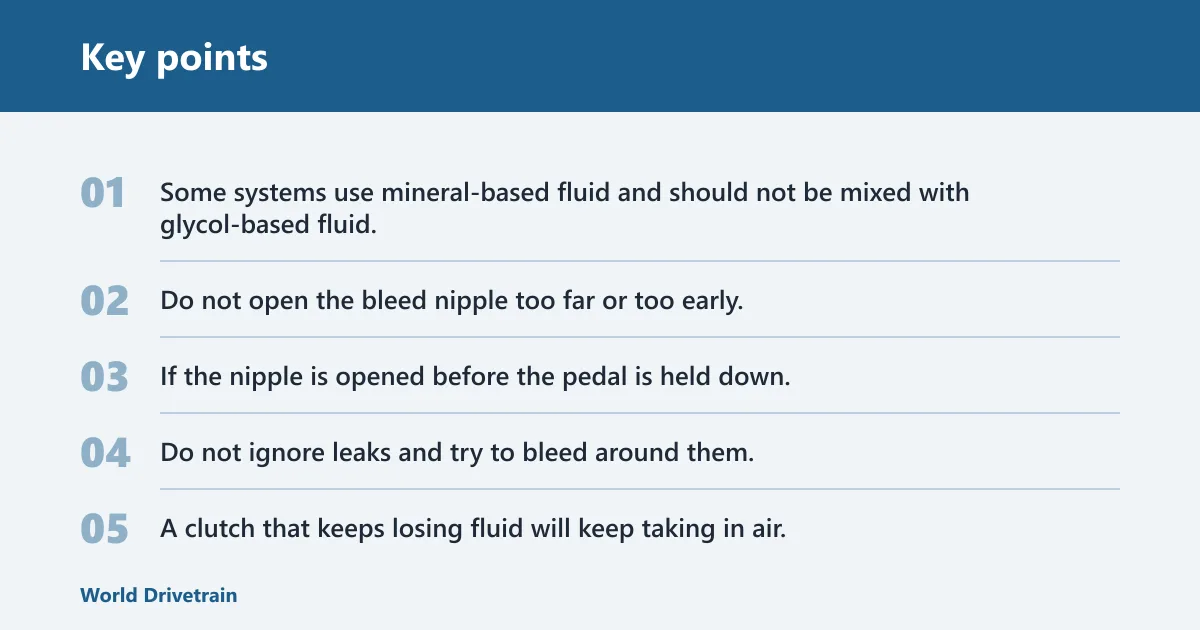
Do not use the wrong fluid. Some systems use mineral-based fluid and should not be mixed with glycol-based fluid, so a cap label or handbook check matters before you add anything.
Do not open the bleed nipple too far or too early. If the nipple is opened before the pedal is held down, or left open when the pedal is released, air can move the wrong way through the line.
Do not ignore leaks and try to bleed around them. A clutch that keeps losing fluid will keep taking in air, and the pedal will feel wrong again after a short drive.
One-man bleed kits help when you do not have a helper. A non-return valve lets fluid leave the system without being sucked back from the jar, so the pedal-pump routine is easier to manage. That said, they do not fix a leak or a failed seal, and a pressure bleeder may be safer on systems that are hard to purge cleanly.
What is a clutch bleed?
A clutch bleed is the process of removing trapped air from the hydraulic clutch circuit by moving clean fluid through the master cylinder, line, and slave cylinder until the pedal response becomes firm and consistent. It is useful only when the system is otherwise sound and not losing fluid.
Does my clutch need bleeding?
If the pedal feels soft, changes height, or becomes inconsistent after service, bleeding is a sensible first check. If the pedal sinks, the reservoir level drops, or the system keeps pulling in air, bleeding alone is usually not enough, and a leak or failed cylinder should be checked first.
Can you bleed a clutch by yourself?
Yes. A one-man bleeding method uses a non-return valve so fluid cannot be sucked back from the jar, which reduces the need for a helper. It is useful for routine bleeding, but it still depends on a sealed system and the correct fluid.
What fluid should I use to bleed a clutch?
Use only the fluid listed for the vehicle. The reservoir cap or handbook should match the fluid in the system.
Frequently asked questions
Why won’t my clutch bleed
Common causes include a leak at the master cylinder pushrod seal, a bad hose between the master and reservoir, a loose bleed nipple, or the wrong fluid. If air keeps returning after several cycles, fix the entry point first and then bleed again.
Why is my clutch pedal spongy after bleeding?
A spongy pedal after bleeding usually means air is still in the system or air is being drawn in through a seal or nipple thread. Recheck the fluid level, inspect the master and slave cylinders, and repeat the bleed only after the leak path is corrected.
Should clutch free play be adjusted before bleeding?
On some front-wheel-drive cars, yes. Check the vehicle handbook before bleeding, because incorrect free play can make the pedal feel wrong even when the air is gone. Adjust the pedal to spec first if the handbook calls for it.