How to Fix an AWD Warning Light
Check tire size and pressure first, then scan for AWD or ABS codes. If the light returns after a short drive, treat it as an active fault, not a reset problem. Ignoring it can disable torque transfer, trigger limp mode, and send you after parts that were never faulty. This guide gives a step-by-step workflow for quick checks, code-based diagnosis, and when to hand the job to a shop.
What you need
- OBD2 scanner that can read stored Diagnostic Trouble Codes
- Flashlight
- Inspection mirror
- Basic hand tools for connector access
- Vehicle-specific wiring diagram or service information
- Tire pressure gauge
How do you read the code first?
Scan the vehicle before replacing any part. Read every stored DTC, then note whether the code points to a wheel speed sensor, AWD control module, vehicle speed output sensor, transfer case, or communication fault. That code list tells you if the problem is electrical, sensor-related, or mechanical.
- Plug the scanner into the diagnostic port and record all stored codes.
- Check for AWD, ABS, traction control, and transmission codes together.
- Save freeze-frame data if the scanner offers it.
- Match the code family to the likely fault area before touching parts.
A common first-timer mistake is replacing the AWD fuse before checking whether a damaged wheel-speed sensor is triggering the warning light. That removes the best clue and can hide an intermittent fault that returns after a few miles.
What the code families usually point
Wheel speed sensor codes often trace to a sensor that reads front or rear wheel speed incorrectly, which can trigger the AWD warning light. AWD control module faults can log communication errors and false warnings. A vehicle speed output sensor fault can also set AWD faults. Damaged wiring can create constant fault lighting through open circuits, corrosion, or loose pins.
What should you check next?
Check the easiest physical causes before you open deeper drivetrain components. Look for fraying, corrosion, loose pins, or disconnects at the wheel speed sensor wiring and connector ends. Check tire size and pressure on all four corners. A mismatch can confuse the system. If the light started after service work, a curb hit, or a battery disconnect, begin there.
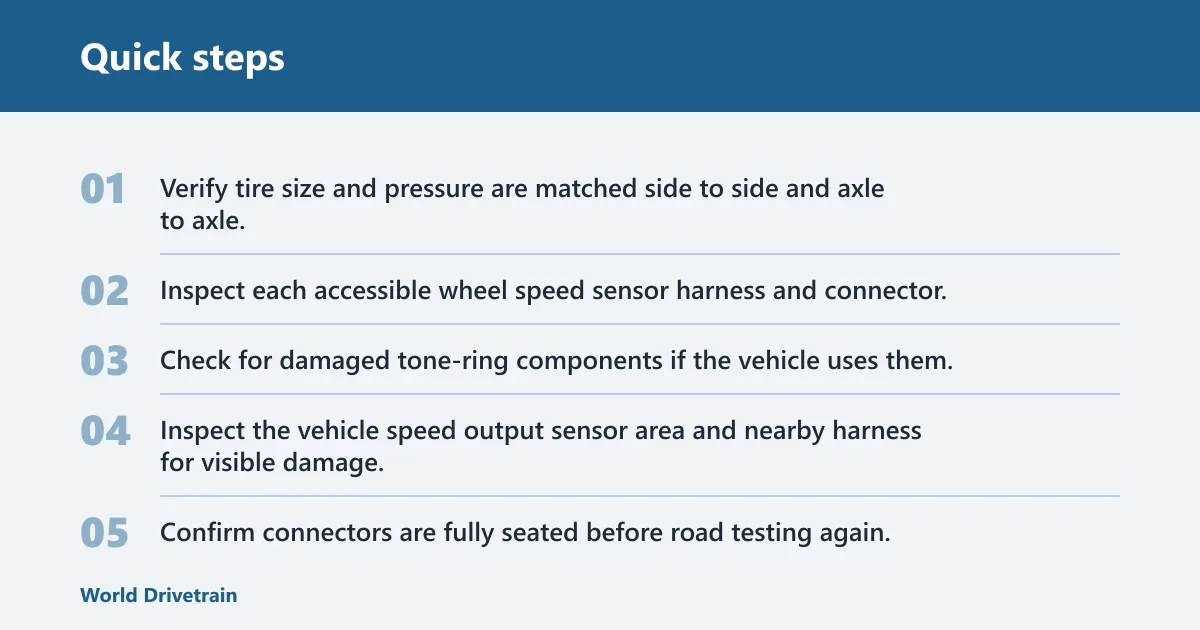
- Verify tire size and pressure are matched side to side and axle to axle.
- Inspect each accessible wheel speed sensor harness and connector.
- Check for damaged tone-ring components if the vehicle uses them.
- Inspect the vehicle speed output sensor area and nearby harness for visible damage.
- Confirm connectors are fully seated before road testing again.
Suppose a 225/60R18 tire was replaced on one corner while the other three remain the original size. The AWD system may see a speed mismatch and flag the light even though the new tire is not defective.
What to look for in the wiring
Damaged wiring can cause communication errors and constant fault lighting. That includes rubbed-through insulation, green corrosion in terminals, bent pins, and a connector that was not locked after prior service. Do not force pins or probe random circuits without a wiring diagram. If the issue is inside the harness, a scan tool alone will not repair it.
Why is the light flashing or paired with vibration?
A flashing AWD light usually means the fault needs faster attention. When the warning appears with vibration, shudder, binding, noise, or drivability changes, suspect the AWD clutch, transfer case, or rear differential before you keep driving. Those symptoms move the problem beyond a simple sensor check.
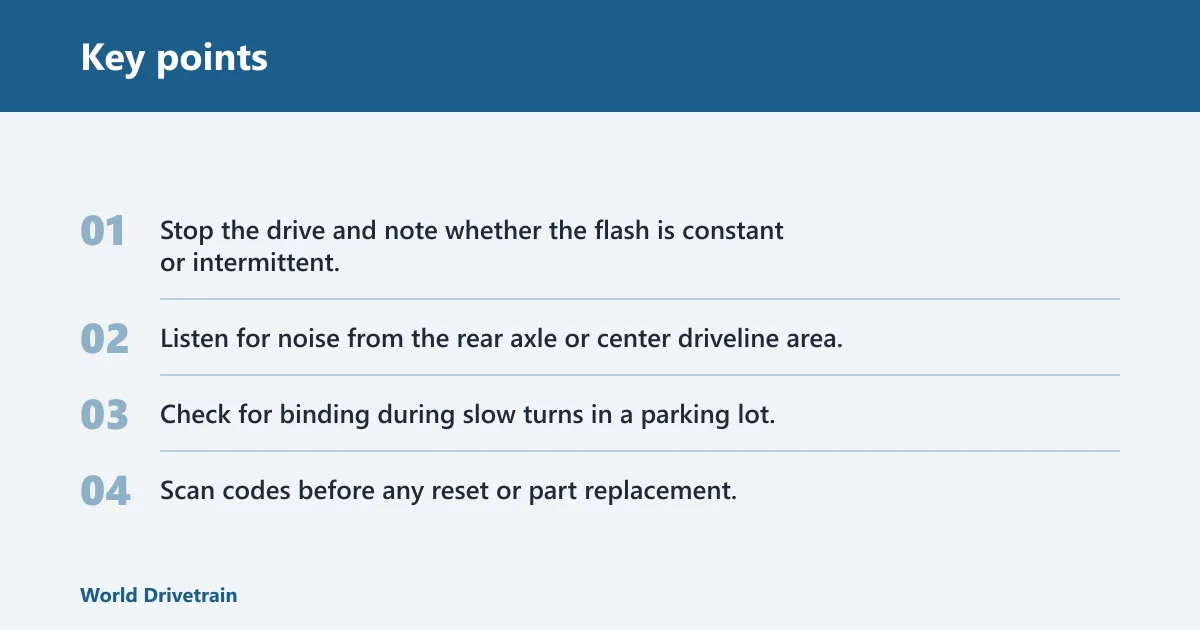
- Stop the drive and note whether the flash is constant or intermittent.
- Listen for noise from the rear axle or center driveline area.
- Check for binding during slow turns in a parking lot.
- Scan codes before any reset or part replacement.
Picture a vehicle that shudders at low speed and flashes the AWD light after a tight left turn. That pattern points more toward a clutch or driveline fault than a loose gas cap or a random electrical hiccup.
Awd warning light triage table
| Symptom | Likely fault family | First DIY check | Escalate-to-shop threshold |
|---|---|---|---|
| Solid light | Stored DTC, wheel speed sensor, wiring, AWD control module | Read codes, inspect tires, check visible connectors and wiring | Light returns after a short drive or code points to module, communication, or sensor circuit faults |
| Flashing light | AWD clutch, transfer case, module communication fault | Stop driving, read codes, check for binding or hesitation | Any repeat flash, harsh engagement, or driveline noise |
| Light plus vibration | Transfer case, rear differential, AWD clutch, driveline wear | Look for noise, shudder, fluid leaks, or tire mismatch | Any vibration under load or while turning |
| Light plus other dashboard warnings | Linked ABS, traction control, transmission, or speed-sensor fault | Scan all related modules and compare codes | Multiple warning lamps stay on after the same drive cycle |
How do you fix an AWD warning light?
Start with the least invasive repair path: tire check, code scan, connector inspection, then component testing. Do not swap an AWD clutch, sensor, or module before the codes tell you where to go. If the system still flags after a short test drive, the warning points to an active fault, not a temporary glitch.
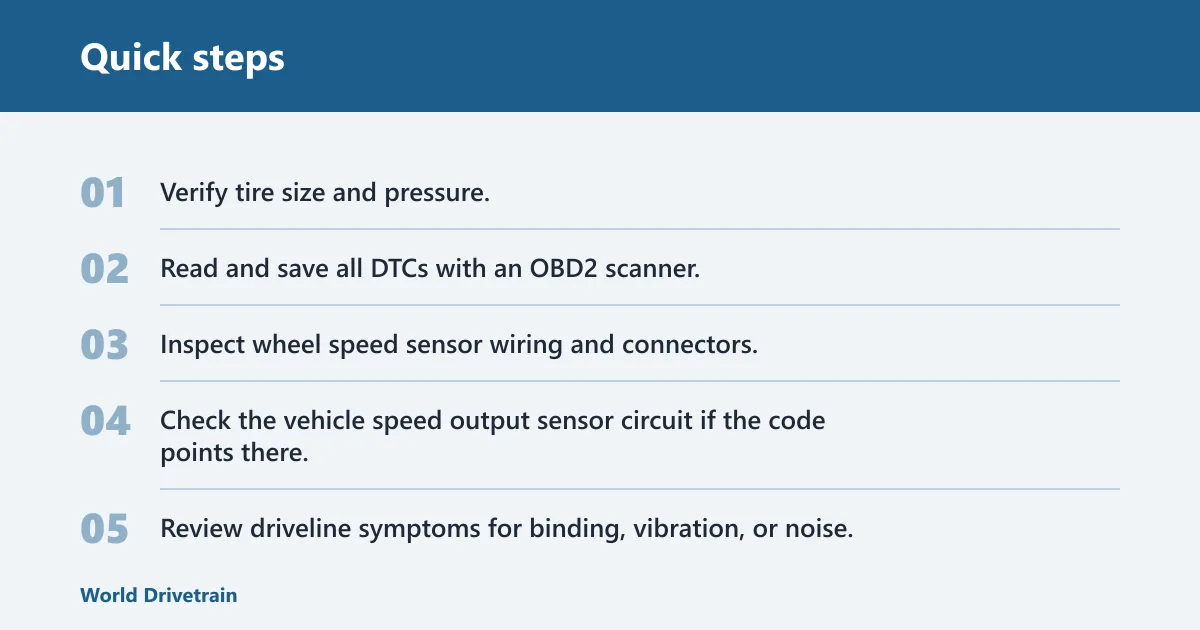
- Verify tire size and pressure.
- Read and save all DTCs with an OBD2 scanner.
- Inspect wheel speed sensor wiring and connectors.
- Check the vehicle speed output sensor circuit if the code points there.
- Review driveline symptoms for binding, vibration, or noise.
An AWD clutch can stick engaged or fail to release, and that can keep the warning light on. Transfer case faults can also illuminate the light, and rear differential problems can do the same when gear wear, lubrication condition, noise, or drivability symptoms are present.
If that did not work, try this next
Move from visible checks to scan-tool diagnosis. An AWD control module can store fault codes and communication errors that only a proper scan tool will show. At that stage, a shop can test the circuit, run actuator commands, and confirm whether the fault is in the module, sensor input, or driveline hardware. That is where random parts swapping stops paying off.
- Request module-level scan data, not just generic OBD2 codes.
- Compare AWD codes with ABS and transmission codes.
- Have the shop inspect the transfer case, rear differential, and clutch operation.
- Repair the failed circuit or component before clearing codes again.
How do you reset an AWD light?
You can clear a stored code with a scanner, but that is only a temporary reset unless the fault is repaired. If the underlying problem remains, the light will come back. A reset is useful after a confirmed fix or after a connector repair that restores normal data flow, not as a substitute for diagnosis.
- Use the scanner to read and record the codes first.
- Repair the confirmed fault.
- Clear the codes with the scanner.
- Drive a short route and confirm the light stays off.
Do not treat a successful reset as proof that the system is healthy. A bad wheel speed sensor, a loose connector, or an AWD control module issue can stay quiet for a few miles and then return as soon as the system checks itself again.
Can you drive with the AWD light on?
Driving with the light on is not recommended if the fault persists or symptoms are present. The system may stop transferring torque correctly, and some faults can overlap with ABS or traction control problems. If the warning is flashing, or if you also feel vibration, binding, or noise, stop driving and diagnose it before the damage grows.
What to stop for right away
Stop and inspect sooner if the vehicle starts shuddering, if steering feels tight in turns, or if the warning appears with another dash light. Those are signs that the problem may be mechanical, not just electrical. A rear differential or transfer case fault can worsen quickly if you keep driving under load.
How do you fix an AWD warning light on a Hyundai Tucson?
A Hyundai Tucson can log AWD-related faults in different code families than other brands, so the same lamp does not always mean the same repair path. Start with tire matching and a full code scan, then follow the Tucson-specific wiring and module data. Do not assume a reset will solve it if the code points to a clutch, module, or communication fault.
- Scan all modules, not only the engine computer.
- Compare AWD and ABS codes before clearing anything.
- Inspect wheel speed sensor circuits and AWD wiring connectors.
- Escalate to dealer-level or shop diagnosis if the code returns.
How to fix all wheel drive warning light issues on a Tucson often comes down to code family, not brand name alone. Similar crossovers may store different fault sets for the same symptom, which is why model-specific service information matters.
Common mistakes
Clearing codes before writing them down is the biggest mistake. Replacing a wheel speed sensor when the connector is corroded is another. A third problem is ignoring transfer case or rear differential symptoms because the light seems minor. None of those shortcuts fix the actual fault.
- Do not replace parts without codes.
- Do not skip wiring and connector checks.
- Do not keep driving through vibration or binding.
- Do not assume all AWD warnings use the same repair path.
Prevention
Keep tire sizes matched, maintain correct pressure, and fix connector damage promptly after service or impact. That lowers the odds of repeat AWD faults and helps the system keep comparing wheel speeds correctly.
Frequently asked questions
What causes AWD malfunction?
Common causes include wheel speed sensor failure, a faulty AWD clutch, transfer case problems, rear differential issues, vehicle speed output sensor faults, AWD control module errors, and damaged wiring. Communication errors between modules can also trigger the warning lamp.
Why is my AWD light flashing?
A flashing light usually signals a higher-priority fault, often tied to clutch control, transfer case operation, or a module communication problem. Treat it as an active warning. Scan for codes before any reset, and do not keep driving if the vehicle feels rough.
Do I need a scanner to diagnose an AWD warning light?
Yes. A scan tool is used to pull stored Diagnostic Trouble Codes, and those codes tell you whether the fault is sensor-based, electrical, or mechanical. Without that step, you are guessing, and guesses are expensive on AWD systems.