Transfer Case Symptoms, Fluid, Repairs and Cost
A transfer case problem usually starts with fluid leaks, shuddering, grinding, or 4WD/AWD warning lights; if it binds, slips, or makes metal noise, stop driving until the fault is identified. Ignore it, and a fluid or sensor repair can turn into a rebuild or full replacement. This guide separates symptoms, fluid issues, electronic faults, and internal damage, then maps each one to likely repair costs and urgency.
Transfer case basics
In many 4WD and AWD vehicles, the transfer case mounts behind the transmission. It takes power from the transmission and sends it to the front and rear axles, so a fault here can affect both traction and drivability.
Many units support more than one operating mode. You may see 2H, 4H, 4L, or AWD/Auto selections depending on the vehicle. Some transfer cases use gears and chains, while others rely on electronic controls or clutch packs to change how torque is split.
What it does in the drivetrain
The transfer case sits in the drivetrain path between the transmission and the axles. In simple terms, it takes engine output after the transmission and divides it for front and rear delivery. That split may be fixed or variable, depending on design.
Mode selection matters because different symptoms point to different failures. A truck that will not shift into 4L is not showing the same fault pattern as an SUV that whines at highway speed. One may have an actuator issue; the other may have internal wear.
Transfer case symptoms to watch
Bad transfer case symptoms usually begin with noise, leaks, vibration, or trouble changing modes. Grinding or whining, a shudder on acceleration, and difficulty engaging or disengaging 4WD or AWD are all common warning signs. Fluid leaks are another early clue, and low fluid can speed up wear fast.
Grinding or whining noises
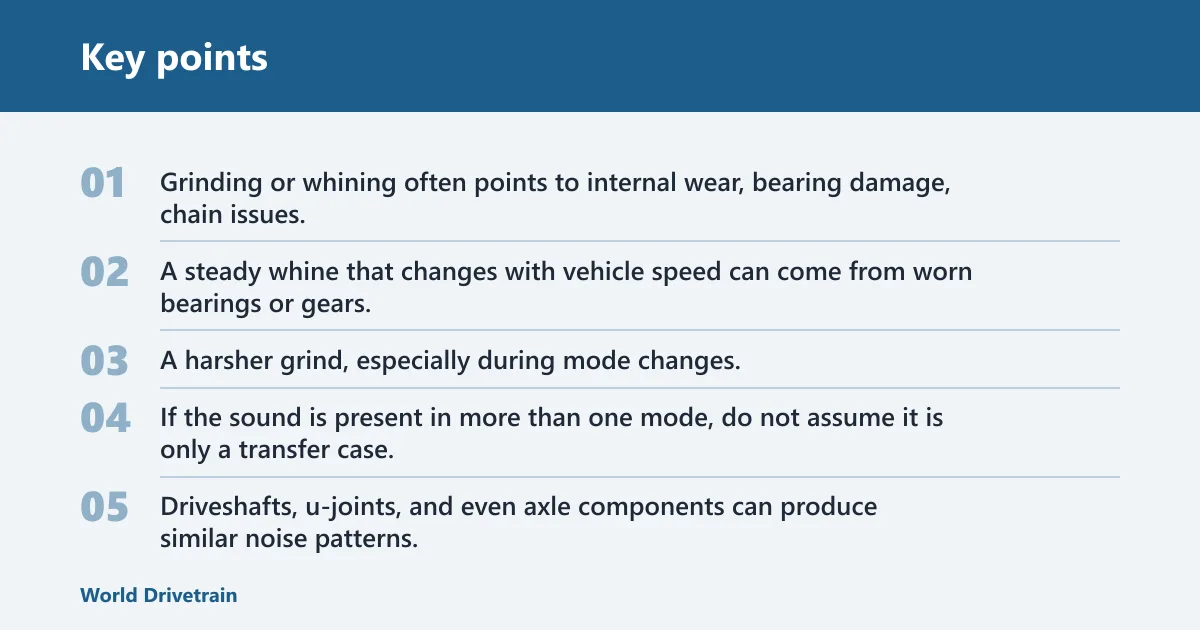
Grinding or whining often points to internal wear, bearing damage, chain issues, or low fluid. A steady whine that changes with vehicle speed can come from worn bearings or gears. A harsher grind, especially during mode changes, raises concern for metal contact inside the case.
If the sound is present in more than one mode, do not assume it is only a transfer case. Driveshafts, u-joints, and even axle components can produce similar noise patterns.
Vibration or shudder on acceleration
A vibration or shudder under load can come from chain stretch, worn sprockets, damaged u-joints, or a driveline bind. If the vibration changes when you switch from 2H to 4H or from AWD to Auto, that pattern is useful. It points to a drivetrain control or engagement issue rather than a tire-only problem.
Picture a full-size SUV that shudders only during a moderate uphill merge in Auto mode. That pattern differs from a constant wheel-speed vibration. It points the diagnosis toward transfer case engagement parts, clutch packs, or related driveline hardware.
Hard shifting or mode changes that fail
Hard shifting, delayed engagement, or a transfer case that refuses to move between modes can come from an encoder motor, shift actuator, switch, solenoid, or control issue. It can also happen if the case is low on fluid or internally damaged. The symptom alone does not prove a rebuild is needed.
Cold weather can make this worse. Thickened lubricant, moisture, or a weak actuator may show up first on the coldest morning of the week, then improve after the vehicle warms slightly. That pattern often points to electrical or engagement trouble before major internal wear is proven.
Leaks and fluid loss
Fluid leaking from the transfer case is a warning sign, not a cosmetic issue. Seals and gaskets are common leak points, and they often can be replaced without changing the whole unit. A leak matters because transfer case fluid lubricates gears, bearings, chains, and other internal parts.
If the case has been leaking for a while, the external drip may be only part of the story. Low fluid can lead to fast internal damage, especially if the vehicle is still driven in 4WD or under load.
Transfer case symptoms decision table
Use this table to separate likely causes before paying for the wrong repair. It is not a final diagnosis. It is a decision aid that helps you decide whether the issue looks like a leak, a fluid problem, an actuator fault, or internal wear.
| Symptom | Likely cause | Immediate risk | Simple checks | Typical repair path |
|---|---|---|---|---|
| Fluid leak under the center of the vehicle | Seals, gaskets, case half seepage, or a fill/drain plug issue | Moderate to high if the level is low | Check for wetness on the transfer case, crossmember, and skid plate; compare the fluid level to spec | Seal or gasket repair, then refill and recheck |
| Grinding or whining | Low fluid, worn bearings, chain stretch, gears, or sprockets | High if the noise is metal-on-metal | Listen for changes with speed or load; inspect fluid for glitter or burn odor | Diagnosis, then rebuild or replacement if internal wear is confirmed |
| Vibration or shudder | Chain wear, driveline bind, u-joints, driveshaft imbalance, or clutch wear | Moderate to high | Inspect driveshafts, u-joints, tires, and mode behavior | Related drivetrain repair, fluid service, or internal overhaul |
| Hard shifting or mode changes that fail | Shift actuator, encoder motor, switch, solenoid, low fluid, or mechanical bind | Moderate | Scan for codes; test mode response in 2H, 4H, 4L, or Auto | Electrical diagnosis first, then actuator or internal repair as needed |
| 4WD stuck on or stuck off | Encoder motor fault, switch fault, control issue, or internal shift failure | Moderate to high depending on road use | Look for dash lights, listen for actuator movement, verify fuse and connector condition | Actuator or control diagnosis; rebuild only if mechanical locking is found |
| Warning light on the dash | Sensor, actuator, module, wiring, or mechanical fault | Variable | Read codes and check whether the symptom is electrical or drivability related | Diagnosis beyond symptom guessing; repair the actual failed circuit or component |
| No fluid or nearly empty case | Severe leak or long-term service neglect | Immediate stop-driving risk | Do not continue driving; inspect for obvious leak points and damage | Tow, inspect internals, then repair or replace depending on damage |
Is the fluid the problem?
Transfer case fluid is a specialized lubricant. It protects gears, bearings, chains, and other internal parts. Over time, it can become contaminated or lose protective ability. A common service interval is 30,000–60,000 miles, and many manufacturers recommend fluid changes in that range.
Low or dirty fluid is one of the fastest ways to shorten transfer case life. If the level is low enough, damage can happen quickly. If the fluid smells burnt, looks dark, or contains metal, the case may already be wearing internally.
How fluid clues differ from differential fluid clues
Transfer case fluid and differential fluid can both leave oily residue, but the location and symptom pattern help separate them. A leak near the centerline of the vehicle, around the transmission tail area or transfer case housing, points toward the transfer case. A leak at the rear axle or front differential points elsewhere.
Noise pattern matters too. A rear differential often creates a rear-axle howl that changes with throttle or coast. A transfer case problem is more likely to affect mode changes, 4WD engagement, or a center-mounted whine. If you cannot localize the source, inspect both systems before replacing parts.
A common first-timer mistake is assuming any drip near the middle of the truck means the transfer case is failing. Sometimes the fluid runs rearward from a transmission seal, and sometimes it comes from a nearby driveshaft slip yoke. Clean the area before judging the source.
Can electronics cause transfer case problems?
Yes. Many newer systems use an encoder motor or shift actuator to engage transfer case modes, and those parts can fail without any major internal wear. A warning light, delayed shift, or a mode that works cold and fails warm can point to electrical control problems rather than a torn-up gearset.
Encoder motor and shift actuator faults
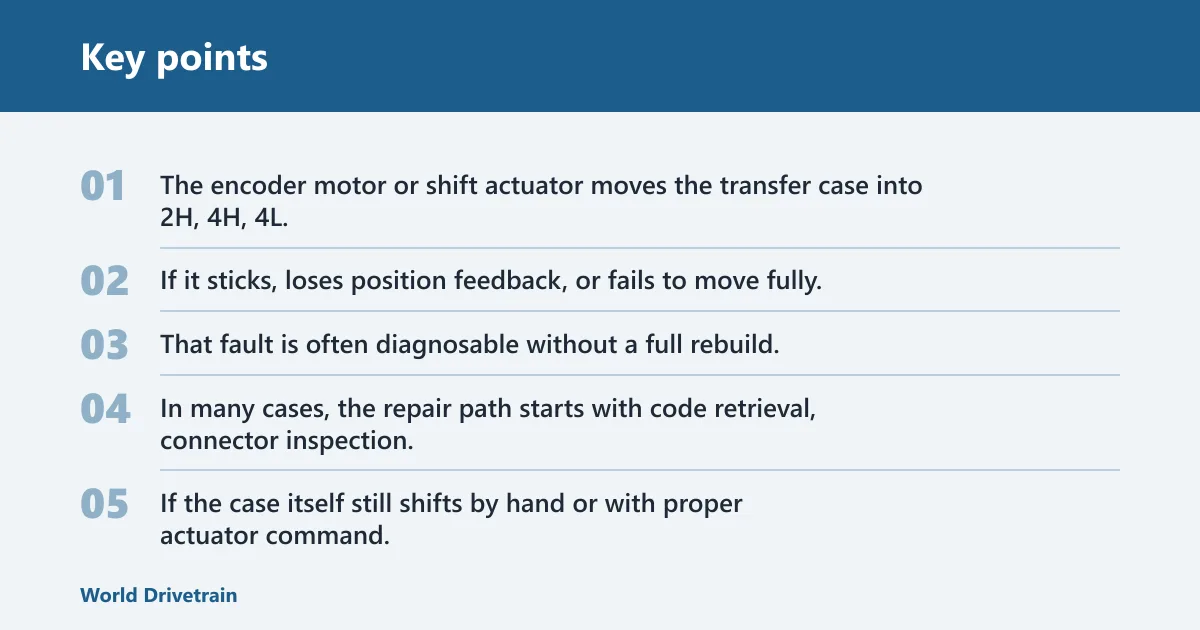
The encoder motor or shift actuator moves the transfer case into 2H, 4H, 4L, or AWD/Auto positions. If it sticks, loses position feedback, or fails to move fully, the vehicle may stay in the wrong mode or refuse to shift. That fault is often diagnosable without a full rebuild.
In many cases, the repair path starts with code retrieval, connector inspection, and actuator testing. If the case itself still shifts by hand or with proper actuator command, the internal parts may be fine.
Cold-weather engagement problems
Cold-weather engagement problems often happen because parts move more slowly when temperatures drop. Thick fluid, weak wiring connections, moisture in connectors, or a tired actuator can all show up first in winter. The problem may disappear after the vehicle warms, which makes it easy to misread.
Suppose an AWD crossover refuses to leave Auto mode on a 10-degree morning but shifts normally after about a 15-minute drive. That pattern suggests a control or actuator issue more strongly than a catastrophic internal failure. The fix may be far smaller than a transfer case rebuild.
Warning lights and module-related diagnosis
4WD/AWD warning lights can indicate a drivetrain fault, though they do not always mean a broken transfer case. The light may come on for a sensor, switch, wiring fault, or actuator problem. It may also accompany mechanical trouble, so the code needs interpretation instead of guesswork.
Do not let the dashboard alone drive the repair. A code can point to the symptom circuit, while the real cause sits in the actuator, harness, or shift mechanism.
What parts wear inside a transfer case?
Common internal parts include chain, gears, bushings, bearings, switches, solenoids, and seals. When wear builds up, the symptoms usually become more specific: noise, vibration, hesitation, or an inability to stay in the selected mode. That is where a rebuild becomes relevant.
Chain and sprocket wear
Chain and sprocket wear often shows up as rattle, whine, or a slipping feel under load. A stretched chain can sometimes slap inside the case and cause vibration during acceleration. If the chain or sprockets are damaged, replacement during overhaul is common.
Bearing and gear wear
Worn bearings tend to create a growl or whine that follows vehicle speed. Gear wear can produce harsher mechanical noise and, in severe cases, metal particles in the fluid. If the fluid contains visible debris, the repair likely goes beyond service work.
Shift fork and clutch pack wear
Shift fork wear can cause incomplete engagement or a failure to select the requested mode. In systems with clutch packs, wear can create slip, shudder, or inconsistent torque transfer. Those symptoms may feel similar to actuator problems, which is why diagnosis matters before parts replacement.
Some internal wear is repairable. A transfer case rebuild is appropriate when the wear is limited to components that can be inspected and replaced. If the case has widespread damage, replacement may be the more practical option.
What else can mimic transfer case failure?
Driveshafts and u-joints should be inspected during any transfer case diagnosis. They can mimic noise, vibration, and shudder symptoms. Tire size mismatch, axle issues, and driveline bind can also look like transfer case trouble, especially on trucks and SUVs with selectable 4WD.
Driveshaft and u-joint inspection
Loose or worn u-joints can clunk, bind, or vibrate under load. A damaged driveshaft can create a speed-related shake that gets blamed on the transfer case. If the vibration does not change with transfer case mode, inspect the shafts and joints first.
Tire size mismatch and driveline bind
Mismatched tire sizes can stress the driveline and may create binding in 4WD or AWD systems. The issue becomes more likely when one tire is significantly different in circumference from the others. That mismatch can force the transfer case, differentials, and axles to work against each other.
Front or rear axle problems
Front or rear axle issues can sound like transfer case wear. A failing differential bearing, a damaged axle shaft, or a problem in the hubs may create the same noise a driver hears from the center of the vehicle. That is why diagnosis should include the entire driveline, not only the transfer case housing.
Transfer case repair costs
Repair cost depends on whether the problem is fluid, a seal, an actuator, or internal wear. Inspection and diagnosis are usually the first cost band. From there, the price rises based on labor, access, and whether the unit has to come out for service.
Labor often rises when the transfer case must be removed from the vehicle. That same removal can save money later if seals, gaskets, or related items are replaced while access is open. The cost spread below is meant as a practical planning guide, not a quote.
| Repair item | Typical cost band | What drives the price |
|---|---|---|
| Inspection and diagnosis | Lower than repair work; commonly a separate diagnostic charge | Scan time, road test, fluid inspection, and underbody access |
| Fluid service | Usually the least expensive maintenance item | Fluid type, labor time, and whether the case has a drain and fill setup |
| Seal or gasket repair | Moderate | Leak location, removal labor, and whether the case must come out |
| Actuator or encoder motor repair | Moderate | Part price, diagnostics, calibration, and access on the vehicle |
| Rebuild | Higher than seal or fluid service, often cheaper than replacement in some cases | Internal damage, chain and bearing replacement, and labor for teardown |
| Replacement | Highest band in many cases | New or remanufactured unit price, labor, and any related parts or programming |
Rebuild versus replacement
Rebuild is usually the better choice when internal wear is limited to parts that can be inspected and replaced, such as chain, bearings, gears, bushings, or shift components. It can be cheaper than replacement when the housing and major hard parts are still usable.
Replacement becomes the practical path when the case has severe damage, repeated failures, a cracked housing, or contamination that has ruined multiple internal assemblies. If the cost of parts and labor approaches the price of a quality replacement unit, replacement may be the cleaner decision.
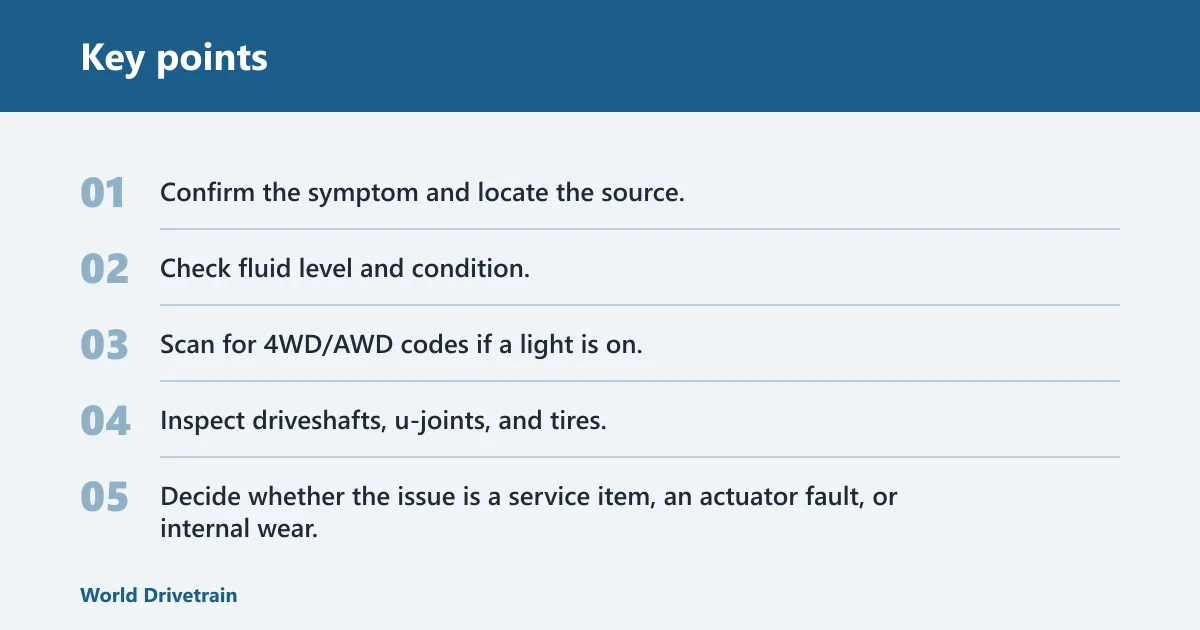
- Confirm the symptom and locate the source.
- Check fluid level and condition.
- Scan for 4WD/AWD codes if a light is on.
- Inspect driveshafts, u-joints, and tires.
- Decide whether the issue is a service item, an actuator fault, or internal wear.
Frequently asked questions
What are the symptoms of a bad transfer case?
Common symptoms include grinding or whining noises, vibration or shudder under load, hard shifting into or out of 4WD or AWD, leaks, and a warning light. The important part is pattern recognition. Noise, leak location, and mode behavior help separate internal wear from actuator or driveline issues.
How do I know if my transfer case is leaking?
Look for wet housing, drips near the center of the vehicle, and fluid on the skid plate or crossmember below the transfer case. A leak from seals or gaskets often starts as seepage before it becomes a drip. Clean the area first, then recheck so you can find the actual source.
Can I drive with a bad transfer case?
If the case is leaking but still shifting normally, short-distance driving may be possible while you arrange service. If it binds, slips, makes metal noise, or runs low on fluid, stop driving. Continuing can turn a repairable issue into major internal damage or a full replacement.
What happens if a transfer case runs with no fluid?
Running with no fluid can destroy the transfer case quickly. The lubricant protects gears, bearings, chains, and other internal parts, and without it those parts overheat and wear fast. If you suspect a no-fluid condition, do not keep driving. Tow the vehicle and inspect for damage.
How often should transfer case fluid be changed?
A common transfer case fluid change interval is 30,000–60,000 miles, and many manufacturers list service in that range. The correct interval still depends on the vehicle, use pattern, towing load, and operating conditions. Check the owner’s manual and any vehicle-specific maintenance schedule.
How much does a transfer case repair or rebuild cost?
Cost varies by failure type. Fluid service and seal repair are usually lower-cost jobs, actuator work sits in the middle, and rebuild or replacement costs much more because of labor and parts. The biggest price drivers are removal time, internal damage, and whether only one component failed.
Is it better to rebuild or replace a transfer case?
Rebuild is often the better value when the housing and major hard parts are still usable and the failure is limited to wear items. Replacement is usually better when the case is cracked, heavily contaminated, or damaged beyond practical repair. Diagnosis should determine which path matches the actual damage.